At times, the System process may display a high disk or CPU usage for a few minutes. This is temporary and should not worry you. But if the same continues to persist frequently, you may need to take a look at a few things.
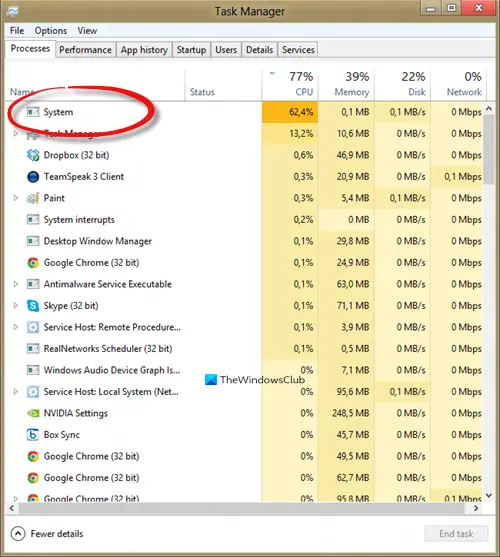
System process (ntoskrnl.exe) High Disk or CPU usage
There are different factors that can cause a change in the performance of your Windows 10 device. This includes recent updates, changes in the device driver versions, etc. You can try these solutions to fix the problem. Let’s cover the above solutions in a bit of detail!
1] Update old drivers or roll back to the earlier update
Drivers are programs that control particular devices connected to your motherboard. So, keeping them up-to-date may help in eliminating any compatibility issues or bugs that cause increased CPU usage. On the other hand, if you find that the new update is interfering with the normal functioning of your PC and causing High Disk or CPU usage, consider rolling back to the earlier version of the driver.
2] Clear the Page file at shutdown
Open the Registry Editor and navigate to the following path address – Find the Memory Management folder. Next, right-click the ClearPageFileAtShutDown and select Modify option.
Then, in the Edit DWORD Value screen that appears, change the value of ClearPageFileAtShutDown from 0 to 1 and click on OK. This will clear Page File at every shutdown and lower the high RAM usage in Windows 10.
3] Don’t use a Power saver plan
Some power settings throttle the speed of the CPU, irrespective of the device in use. As such, it becomes necessary to check your Power Options. Type Edit Power Plan in the Search bar and hit Enter. Once open, click Power Options in the address bar at the top of the window. Click Show additional plans drop-down button, then change your Power Plan. Don’t use a Power Saver plan – Use Balanced or High Performance. Now open Task Manager again to see if CPU usage returns to normal.
4] Use SysInternals Process Explorer
SysInternals is an advanced system utility that can be used to identify the driver that is causing high CPU usage in Windows 10. Run the program as an administrator and locate the System in the list of running processes. Then, right-click it and choose the Properties option. Next, switch to the Threads tab. Sort the list of modules loaded by the kernel by the rate of CPU usage (CPU column). Note down the name of a component or a driver in the Start Address column, causing high load, and terminate it. Hopefully, this should help you troubleshoot. Fix: NTOSKRNL.exe BSOD on Windows
5] Disable Idle task
You can disable it via Task Scheduler easily. Just launch it and navigate to Microsoft.
Then, choose the Windows sub-folder under it. Expand the MemoryDiagnostic folder > TaskScheduler and select RunFullMemoryDiagnostic from the right-pane. Right-click it and choose Disable option to stop the process.
6] Use Event Tracing to capture CPU Sampling data
Event Tracing for Windows enables the capture of kernel and application events in a consistent, straightforward manner. By capturing and presenting selected events, you can identify and diagnose system and application performance issues. Thereafter, you can follow a desired course of action to correct the errant behavior. This method is more suitable for IT admins. Fix: NTOSKRNL.exe high CPU, Memory & Disk usage problem All the best.