Powercfg is a useful utility if you need to change the power setting quickly across the profile without opening the interface. If you have multiple computers at home and need to change settings on each, this is definitely handy. This post will guide how you can set what happens when you close the laptop lid using powercfg in Windows 10. Read: Choose what closing the laptop lid does: Shutdown, Hibernate, Sleep, Nothing.
Set what happens when you close the laptop lid using PowerCFG
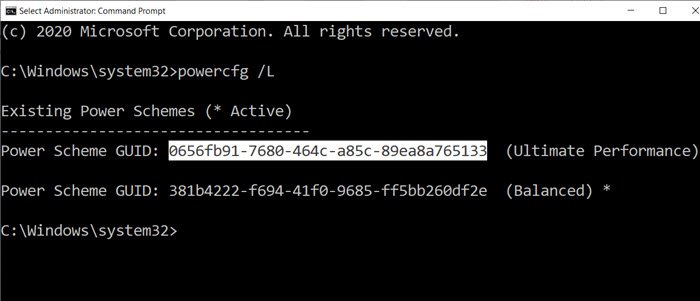
The first step in this method is to figure out the number of power plans you have on the computer and then change the setting for each of them. Close lid actions offer four methods—Nothing, Sleep, Hibernate, and Shutdown. Open Command Prompt with admin permission, and then type the command powercfg /L to view all the plans. It will display a list of GUIDs along with power names. Make sure to note the GUID for which you want to change. An asterisk marks the active or the current plan. Since laptops run on battery and direct power, you will have to make changes for both or at least one based on your requirement. We will use two options with the powercfg command:
-setacvalueindex-setdcvalueindex
AC means when the laptop is plugged and DC means when it is running on battery. Where GUID is from the above command, and LIDValue can be 01,2,3 and 4.
0 = Nothing1= Sleep2= Hibernate3= Shutdown
It is important to note that GUID may change from computer to computer, and it is always a good idea to find out the exact GUID and then make the change. If you need to change it often, create a batch file and execute it as per need. I hope the post was easy to follow, and you are now able to change the action when you close the laptop lid using powercfg in Windows 11/10. Read next: How to change Laptop Lid Open Action in Windows 11/10.